Table of Contents
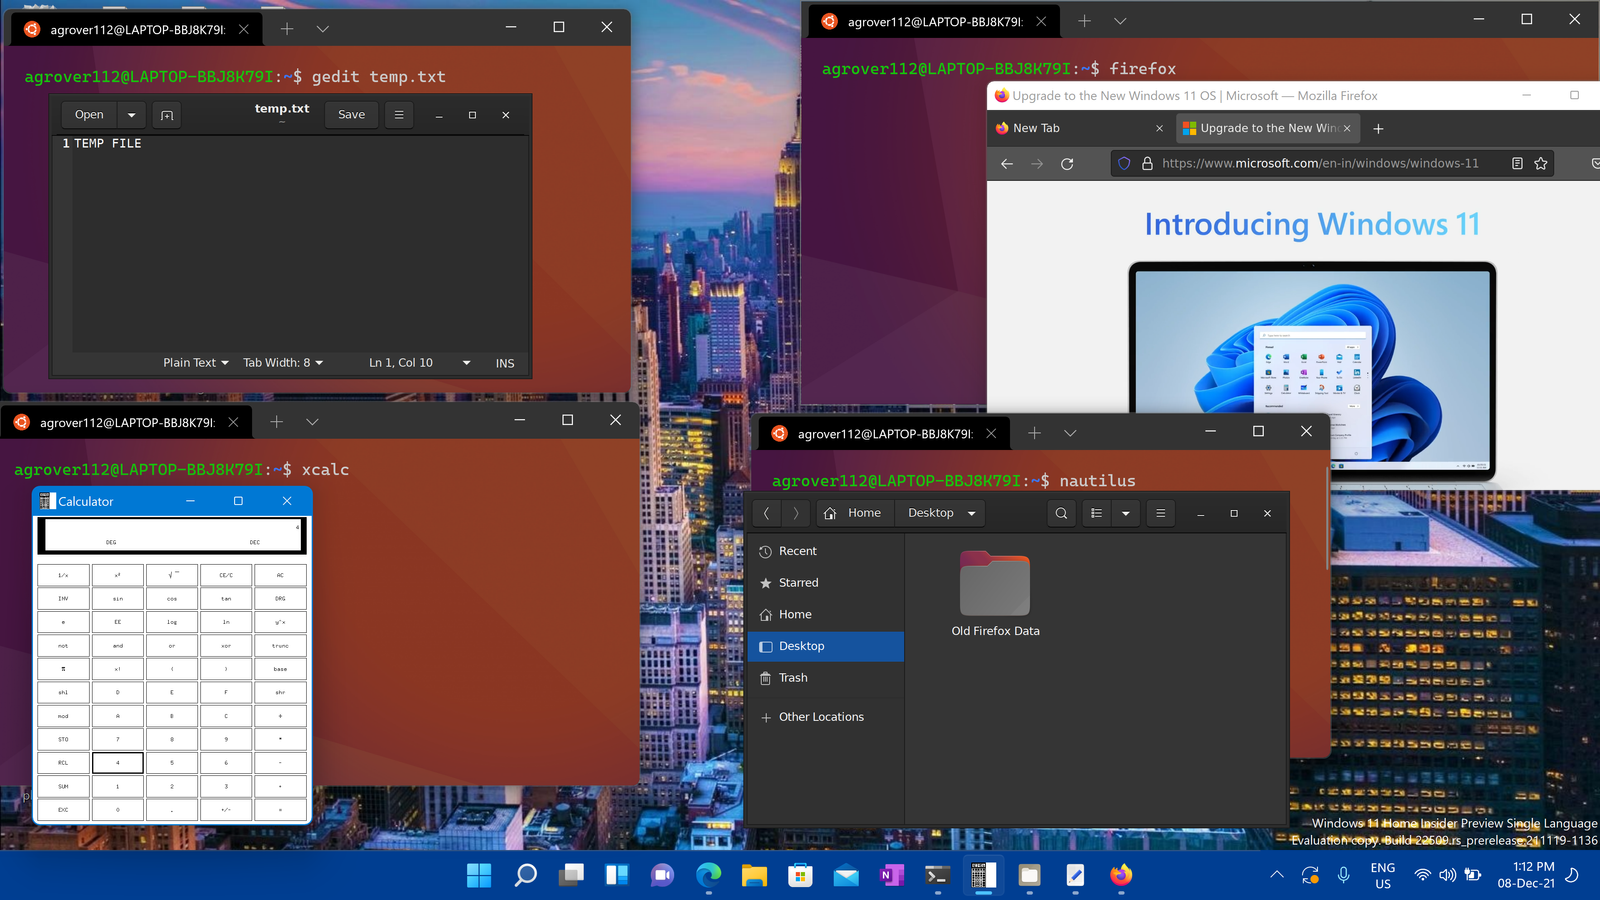
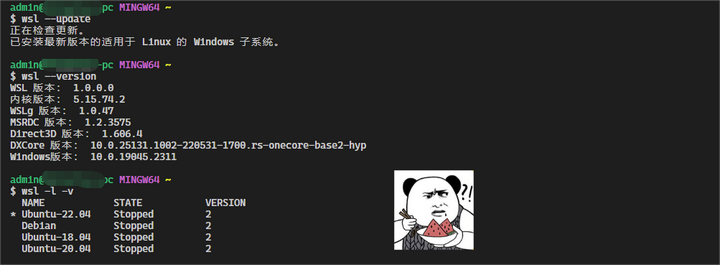
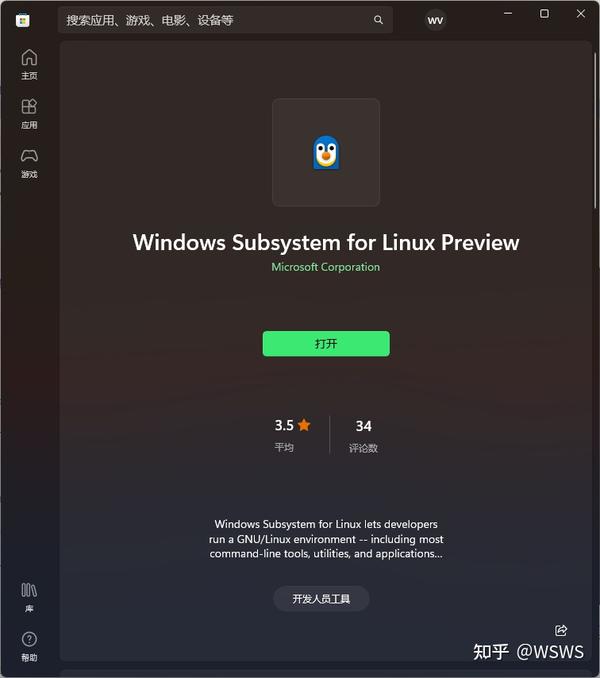
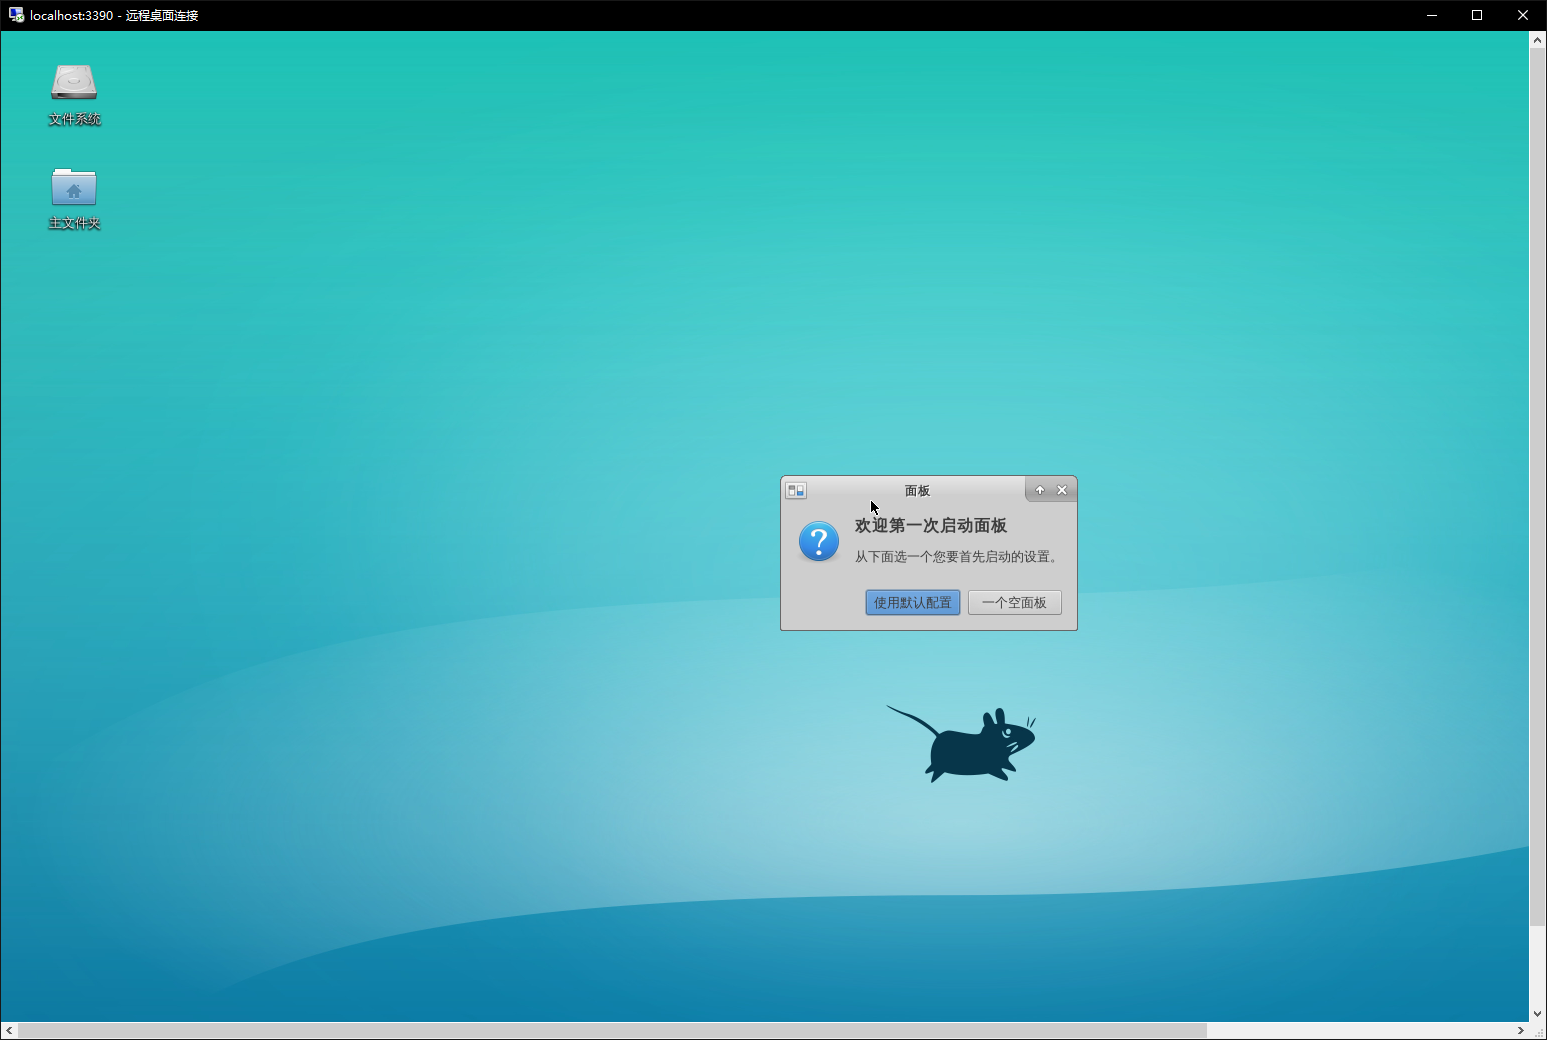
- 喜迎 WSL 1.0 发布,Windows 10 的 WSL 2 也可以用 systemd 了,再水一篇安装教程 - 知乎
- 喜迎 WSL 1.0 发布,Windows 10 的 WSL 2 也可以用 systemd 了,再水一篇安装教程 - 知乎
- 喜迎 WSL 1.0 发布,Windows 10 的 WSL 2 也可以用 systemd 了,再水一篇安装教程 - 知乎
- Windows Subsystem for Linux (WSL) chính thức phát hành trên Microsoft ...
- 一波 WSL 使用小技巧【持续更新。。。】 - 知乎
- WSL 安装/使用 简单指南 - 知乎
- WSL 2 上启用微软官方支持的 systemd - 知乎
- WSL (Windows 10) - OI Wiki
- WSL | 云开发程序员
- WSL


What is WSL 2?
System Requirements


Enabling WSL 2 on Windows 10 and Windows 11
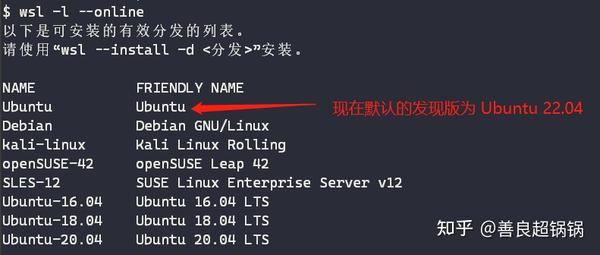
To install WSL 2, follow these steps: 1. Enable the Windows Subsystem for Linux: Open PowerShell as Administrator and run the following command: `dism.exe /online /enable-feature /featurename:Microsoft-Windows-Subsystem-Linux /all /norestart` 2. Enable Virtual Machine Platform: Run the following command: `dism.exe /online /enable-feature /featurename:VirtualMachinePlatform /all /norestart` 3. Restart your computer: This will allow the changes to take effect. 4. Set WSL 2 as the default version: Open PowerShell as Administrator and run: `wsl --set-default-version 2` 5. Install a Linux distribution: Open the Microsoft Store and search for a Linux distribution of your choice (e.g., Ubuntu, Debian, Kali Linux). Click "Install" to begin the download and installation process. 6. Initialize the Linux distribution: Once installed, open the Start menu, search for the Linux distribution you installed, and click to launch it. Follow the on-screen instructions to set up your Linux environment.